How to connect a Bitrix24 CRM form to a Turbosite website
Bitrix24 is a CRM with a robust free version. You can use a CRM form to collect leads directly into your pipeline: a visitor leaves their details on the site, and they automatically become a lead or deal. As a bonus, the form supports payments, turning it into a simple online sales tool. Setup takes 10–15 minutes.
What you will need
- A Bitrix24 account — free registration at bitrix24.ru
- A published website on Turbosite
- 10–15 minutes
Step 1. Create a CRM form in Bitrix24
- Log in to Bitrix24.
- Go to CRM → “More” (or the “Sites and stores” → “CRM forms” section).
- Click “Create form”.
- Choose a template or create one from scratch.
- Configure the form:
- Add the necessary fields (Name, Phone, Email, comment).
- Customize the design: button color, background, fonts.
- Specify a title and description.
- On the “Actions after submission” tab, choose what happens after the form is submitted (message, redirect, reopen).
- On the “CRM reaction” tab, configure which lead/deal/contact will be created.
- Save the form and activate it.
📷 Screenshot: Bitrix24 CRM form builder with field settings and preview.
Step 2. Get the code for your website
- In the list of forms, find your form → click “Menu” (≡) → “Get link and code”.
- Select the “Website script” section (or “HTML code for website”).
- Copy the entire code — it consists of two
<script>tags.
📷 Screenshot: window with the CRM form code and a copy button.
⚠️ Check for updates: the Bitrix24 interface is updated regularly. If the sections are named differently, look for “CRM forms”, “Get link”, or “Script”.
Step 3. Insert the code into Turbosite
A Bitrix24 CRM form is embedded as a pop-up, widget, or inline block, depending on the type selected.
If the form is a widget or pop-up (floats on the page):
-
Open your website in Turbosite.
-
Go to Site settings → Integrations → HTML code in
<head>(this is the service part of the page — visitors don’t see it, but scripts are loaded from there when the site opens).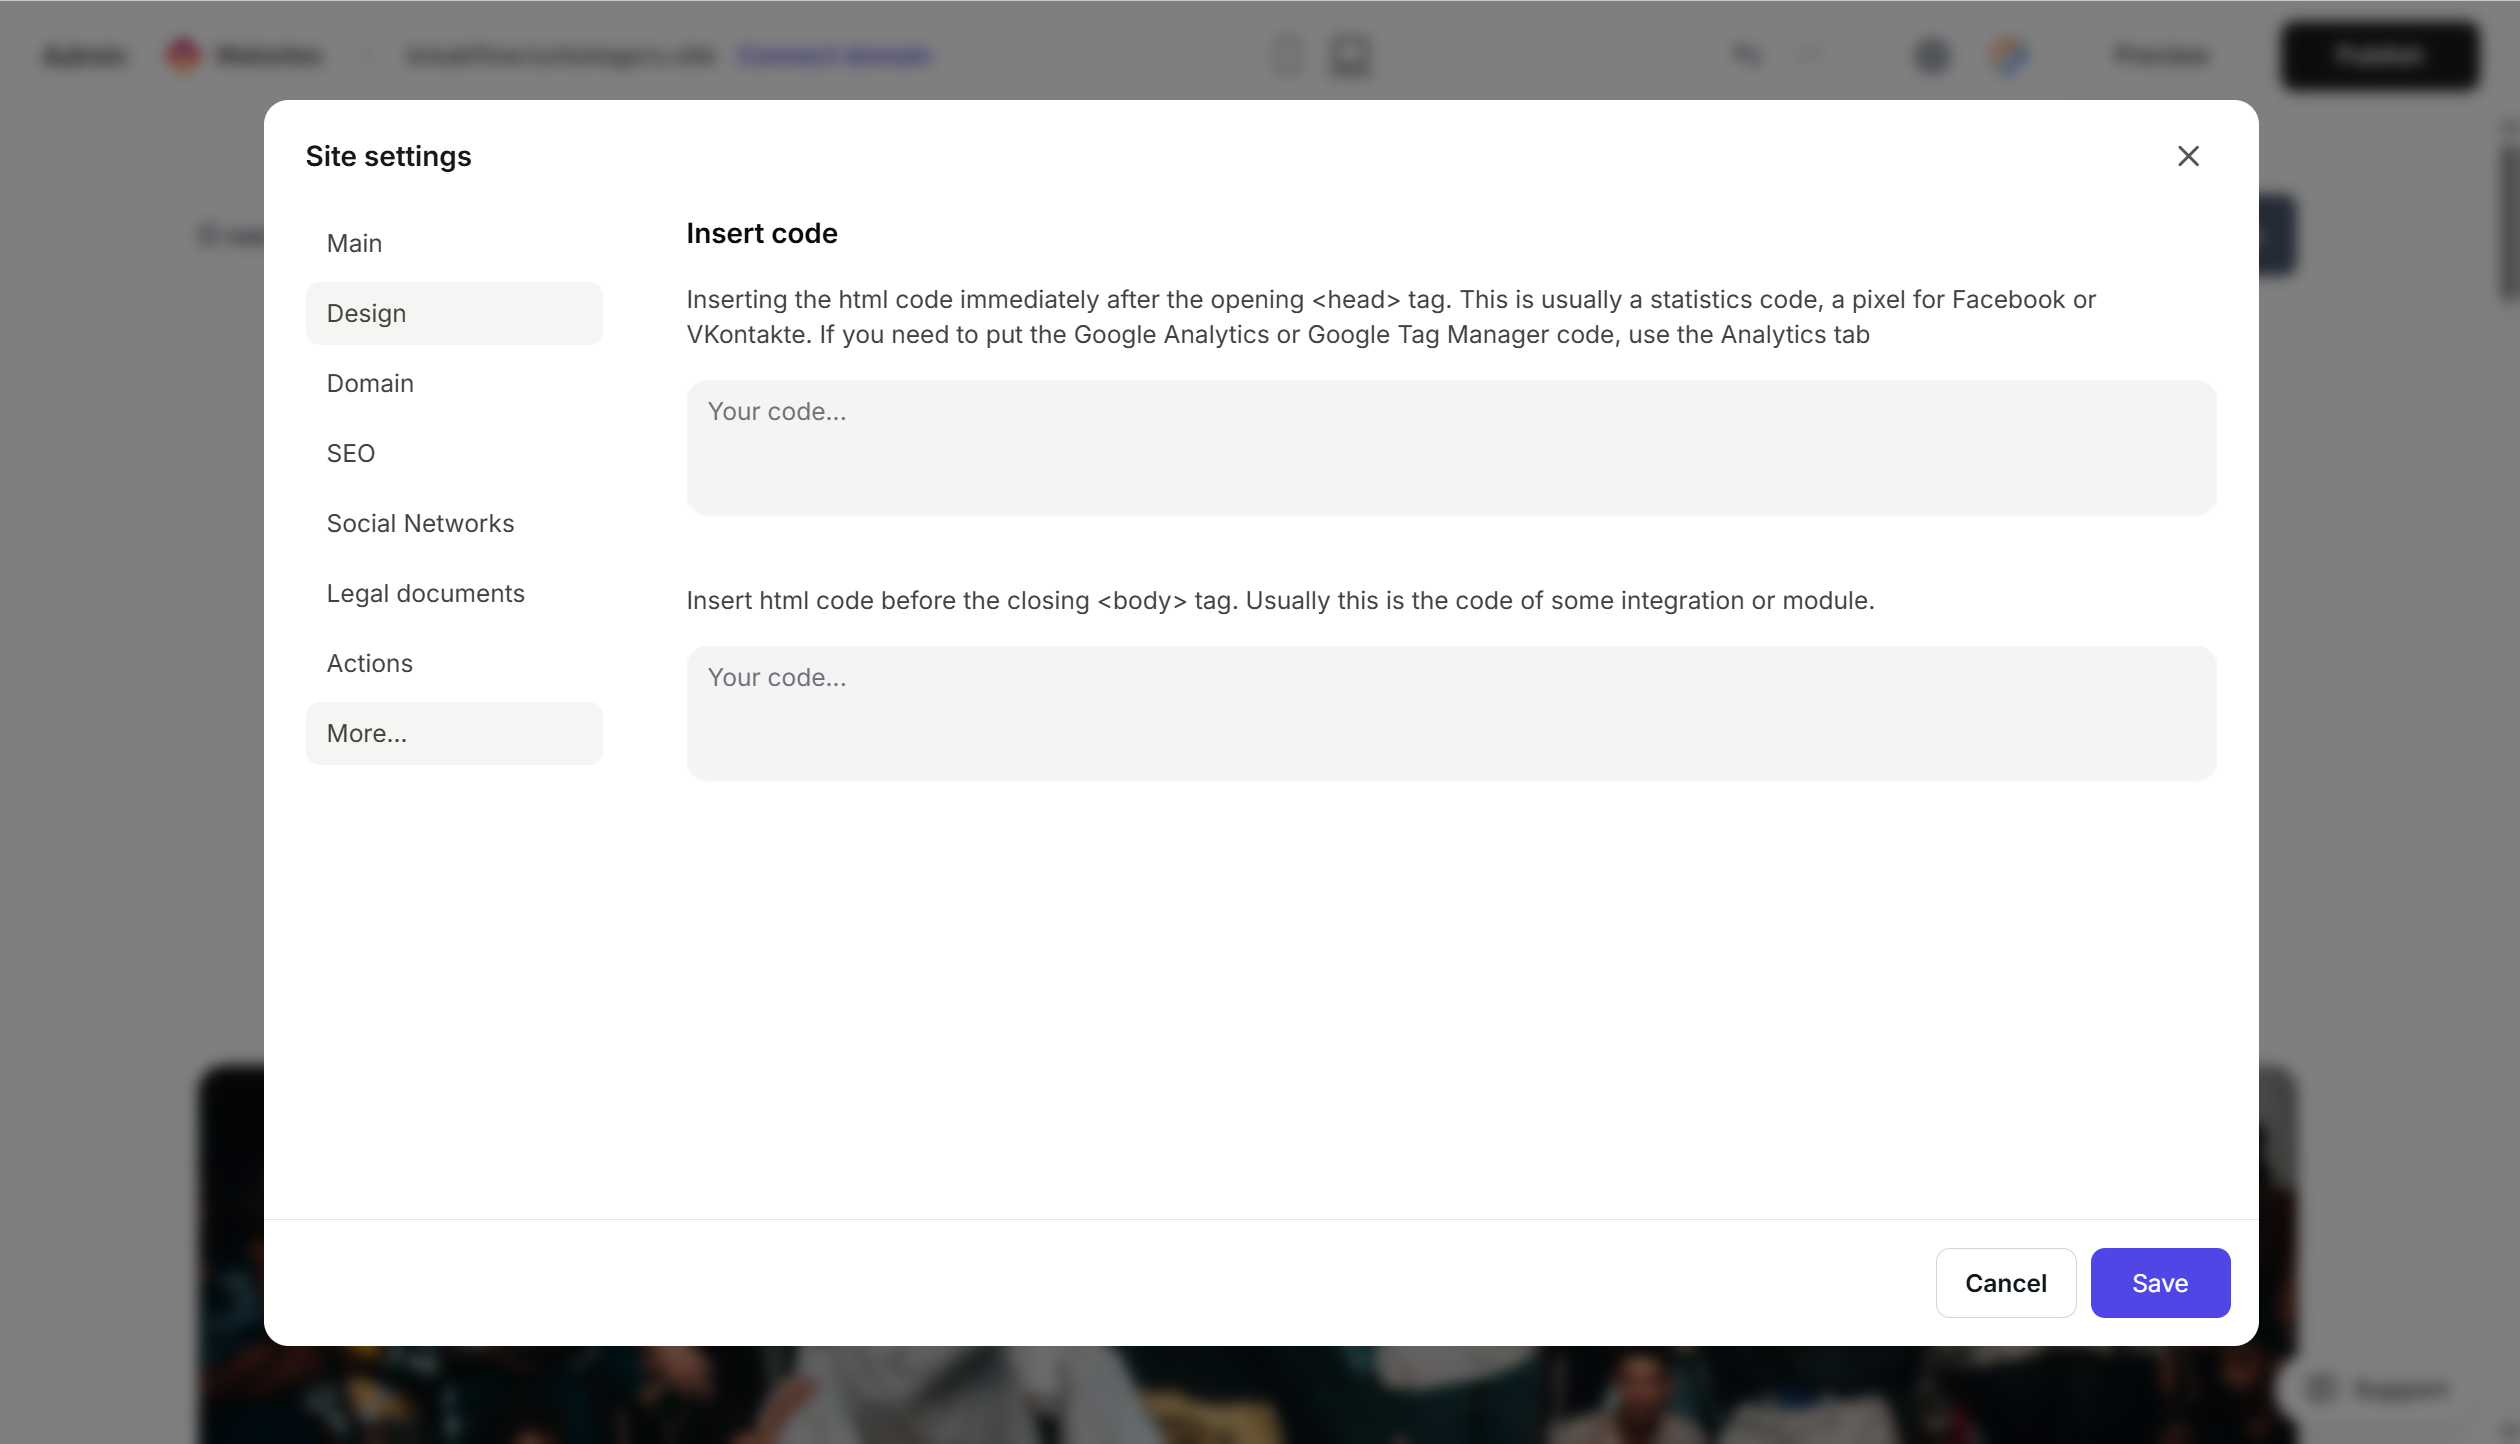
- Paste the form code.
- Save and publish.
If the form is embedded directly into the page (inline):
- Add an “HTML code” block to the desired location on the page.
- Paste the code.
- Save and publish.
Step 4. Verify that submissions are coming through
- Open your published website.
- Fill out the form with test data and submit it.
- Open Bitrix24 → CRM → “Leads” (or “Deals”, depending on your settings). A new entry with your data should appear.
If nothing appears, check that the code was pasted in full, the form is active in Bitrix24, and the site is published.
FAQ
The form is not displaying. Check that the full code was copied (it consists of two parts). If you have other heavy scripts connected to your site, check the browser console for errors.
Can I enable online payments in the form? Yes. In Bitrix24, you can add products to the form and connect online acquiring (YooKassa, T-Kassa, etc.). This turns the form into a simple online sales tool — suitable for those who do not yet have a full-fledged store.
How many forms can I create? In the free version of Bitrix24, there is a limit on the number of active forms — please check the current pricing plan. There are no limits on paid plans.
Can I style the form? Basic settings (colors, fonts, backgrounds) are available in the builder. Advanced styling via CSS is available on paid plans.
Where to look next
- Support24 — section on CRM forms — official documentation
- How to place a form on a website — step-by-step instructions
- Bitrix24 pricing — comparison of features