How to connect YCLIENTS online booking to a Turbosite website
YCLIENTS is the Russian leader in online booking services for beauty, fitness, medical, and service industries. You can add a “Book Now” button to your website—clicking it opens a widget where users can select a service, staff member, and time. Bookings appear immediately in the YCLIENTS appointment calendar. Installation takes 5–10 minutes.
What you will need
- A YCLIENTS account with a configured branch, services, and staff — register at yclients.com (a trial period is available)
- A published website on Turbosite
- 5–10 minutes
Step 1. Configure the online booking widget in YCLIENTS
- Log in to YCLIENTS.
- Go to “Settings” → “Online booking” → “Button settings” (or “Website widget”).
- Configure the parameters:
- Booking scenario — what the client selects first: service, staff member, or date.
- Button design — color, text, position (right or left on the page).
- Services and staff — select what to display in the widget.
- Click “Save”.
📷 Screenshot: YCLIENTS online booking button settings with preview.
Step 2. Copy the button code
- On the same page, find the “Button code” block.
- Copy the entire HTML code — this is the YCLIENTS widget script.
📷 Screenshot: “Button code” block with the copy button highlighted.
⚠️ Important: for the standard round button from YCLIENTS, uncheck “Show button on website”, otherwise the button will be duplicated. If you are installing your own button, leave it enabled.
⚠️ Check for updates: since 2023, all old YCLIENTS widgets have been migrated to the new version. If something looks different, please contact support.
Step 3. Insert the code into Turbosite
The standard round YCLIENTS button is floating and appears in the corner of the screen. Its code is inserted globally.
-
Open your website in Turbosite.
-
Go to Site settings → Integrations → HTML code in
<head>(this is the service part of the page — visitors do not see it, but scripts from there are loaded when the site opens).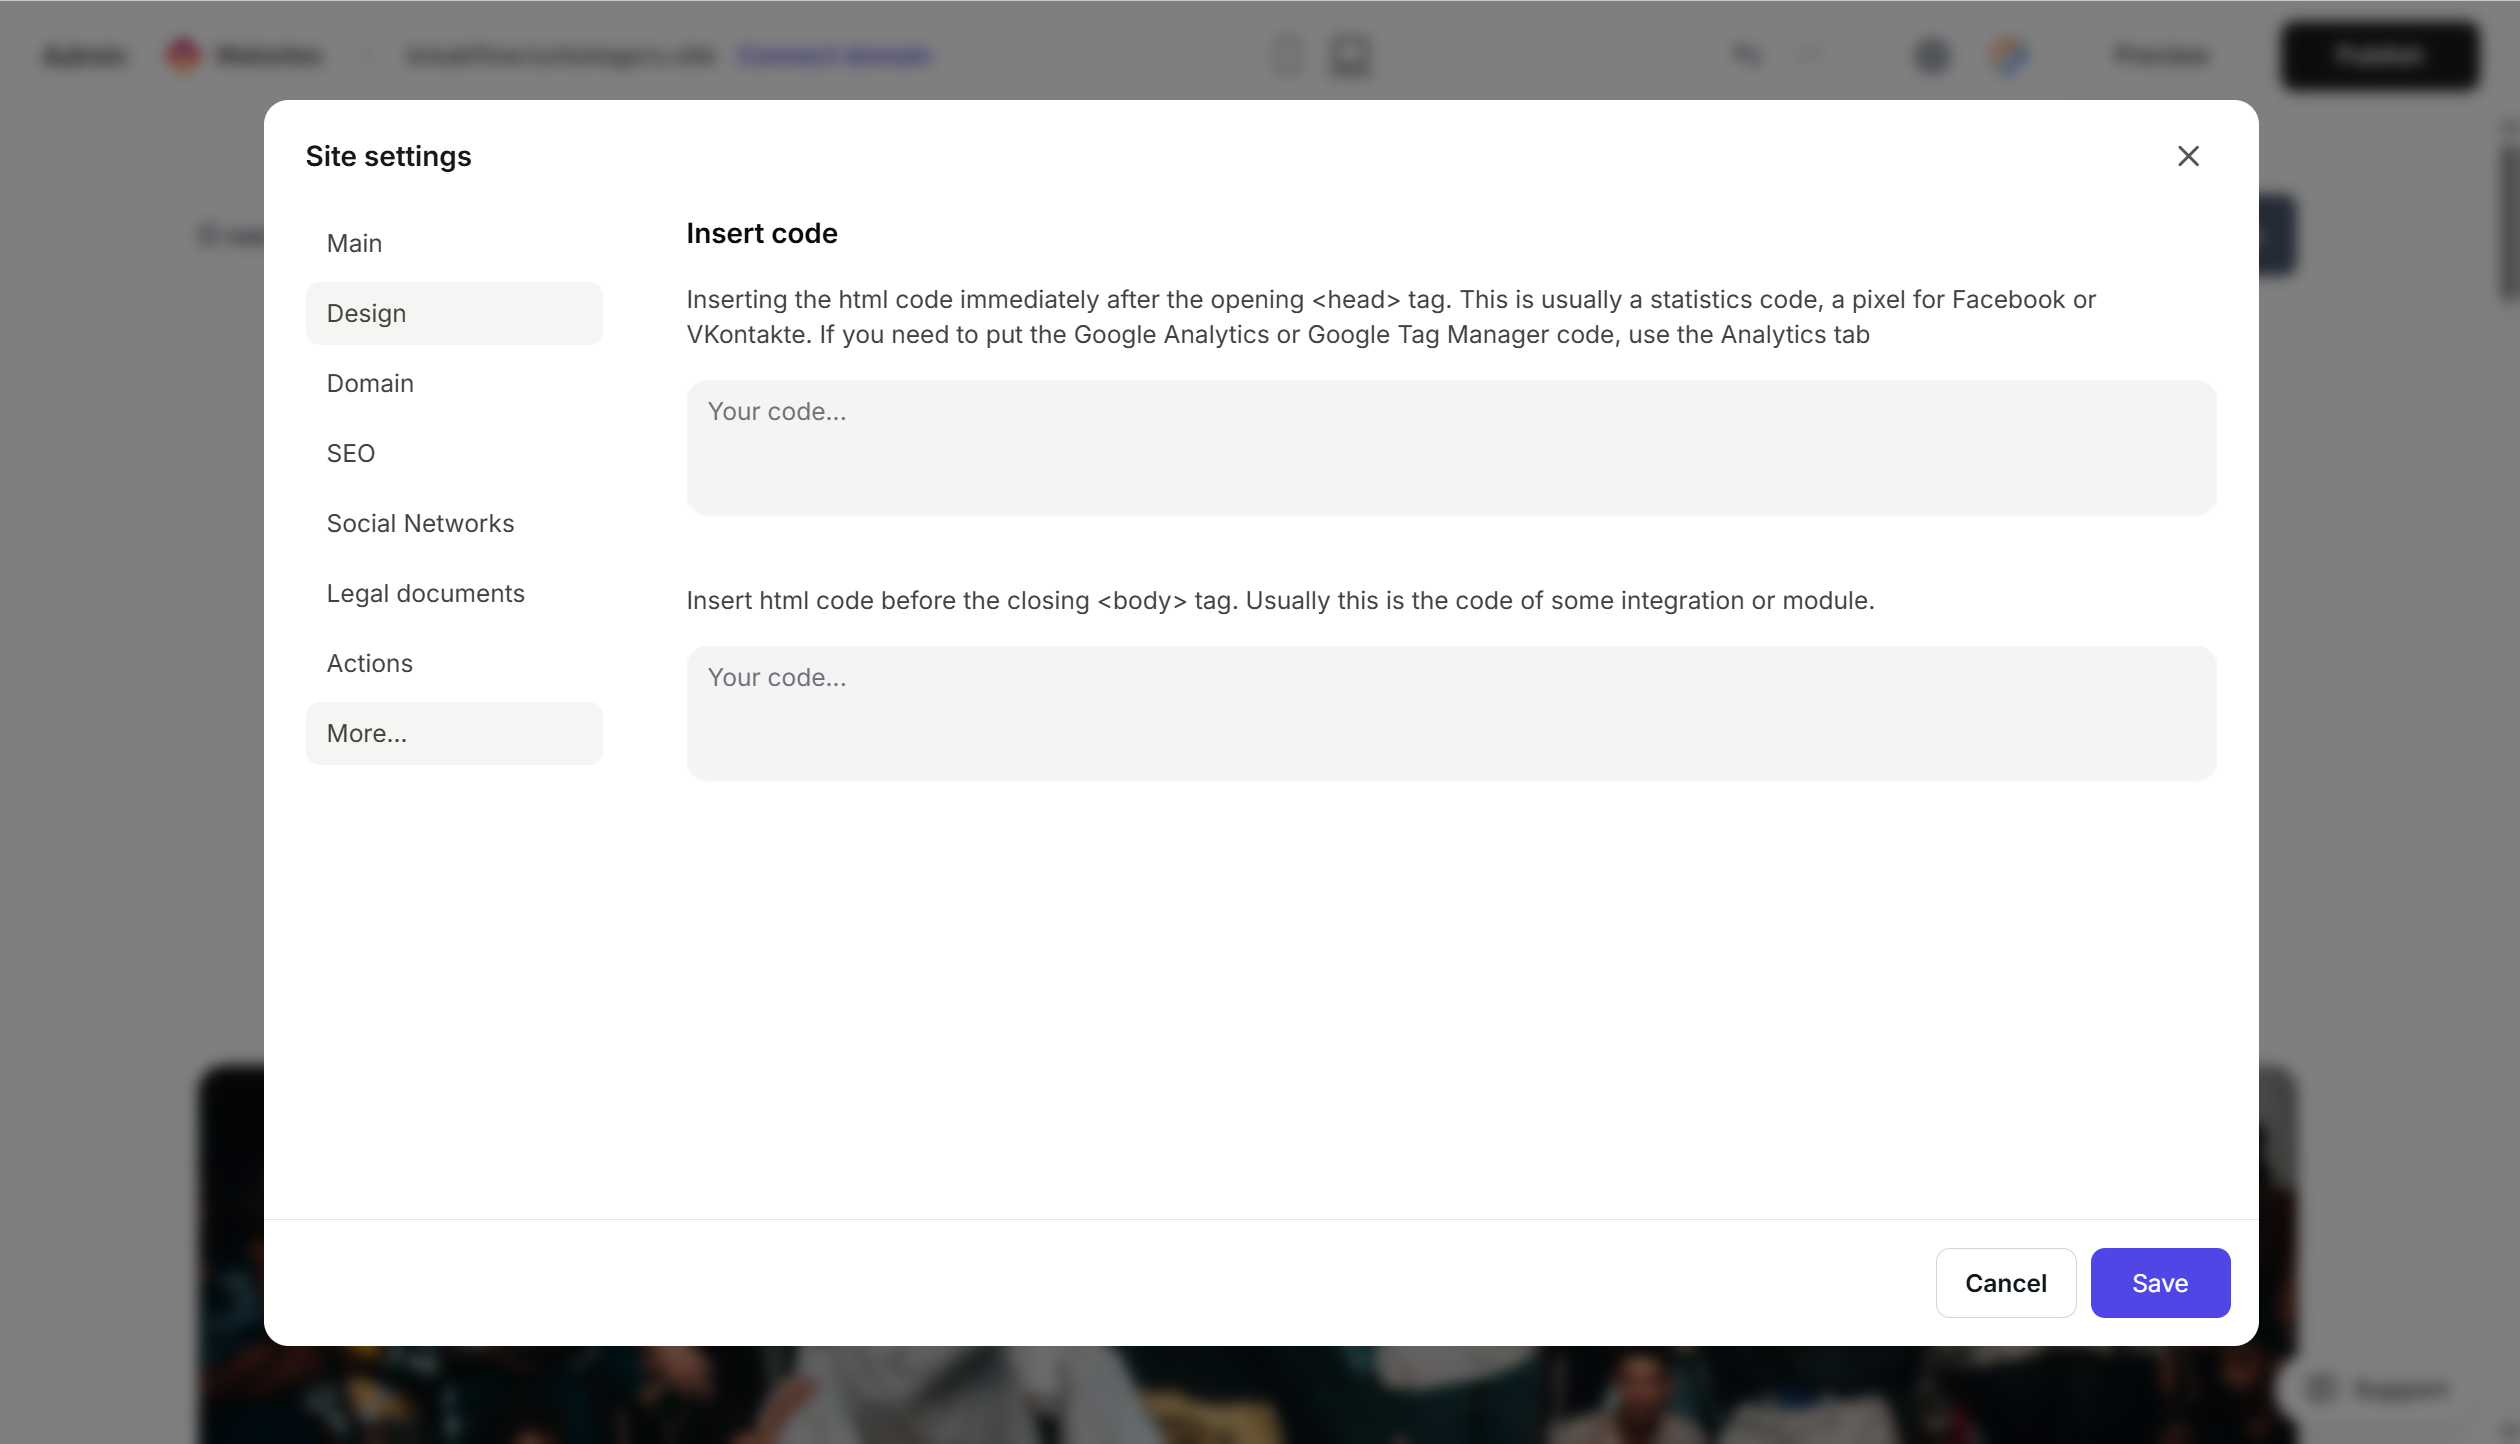
- Paste the YCLIENTS widget code.
- Save the changes.
- Publish the site.
If you want the button in a specific place on the page (rather than floating) — use the YCLIENTS guide “Installing online booking on a website (custom button)” and insert the code into an HTML block in the body of the page.
Step 4. Verify that online booking is working
- Open your published website.
- After 2–3 seconds, a round “Online booking” button will appear in the corner of the screen.
- Click it — a widget with service/staff/time selection should open.
- Complete a booking for a test slot.
- Open YCLIENTS → “Appointment calendar” — the booking should appear there.
Frequently Asked Questions
The widget does not open on the website. Check that the code is fully inserted, the site is published, and the widget is active in YCLIENTS settings. Also, ensure that you have configured services, staff, and a schedule — without them, the widget will show “no available appointments”.
The button covers important content. In the widget settings, change the position — left or right. You can also temporarily hide the standard button and use your own anywhere on the page.
Can I change the text and color of the button? Yes, in the widget settings (section “Button settings”) — without editing the code. Changes will be applied automatically.
How much does it cost? YCLIENTS has a paid subscription starting from the base tariff per branch. A trial period is available. Current prices are on the pricing page.
Can I connect online payment via the widget? Yes, YCLIENTS supports online payment via YooKassa, Tinkoff, etc. It is connected in the YCLIENTS personal account; you do not need to change anything in the website code.
Where to look next
- YCLIENTS Help Center — official documentation
- Installing online booking on a website — original guide
- Configuring the widget button — detailed settings guide