How to connect DIKIDI online booking to a Turbosite website
DIKIDI is a Russian online booking service, an alternative to YCLIENTS. Its main functionality is free, which is its key competitive advantage for small businesses. A button on the website opens a widget: the client selects a service, a specialist, and a time — the booking then appears in the DIKIDI log. Installation takes 5–10 minutes.
What you will need
- A DIKIDI account with your company, services, and staff configured — register at dikidi.ru (free)
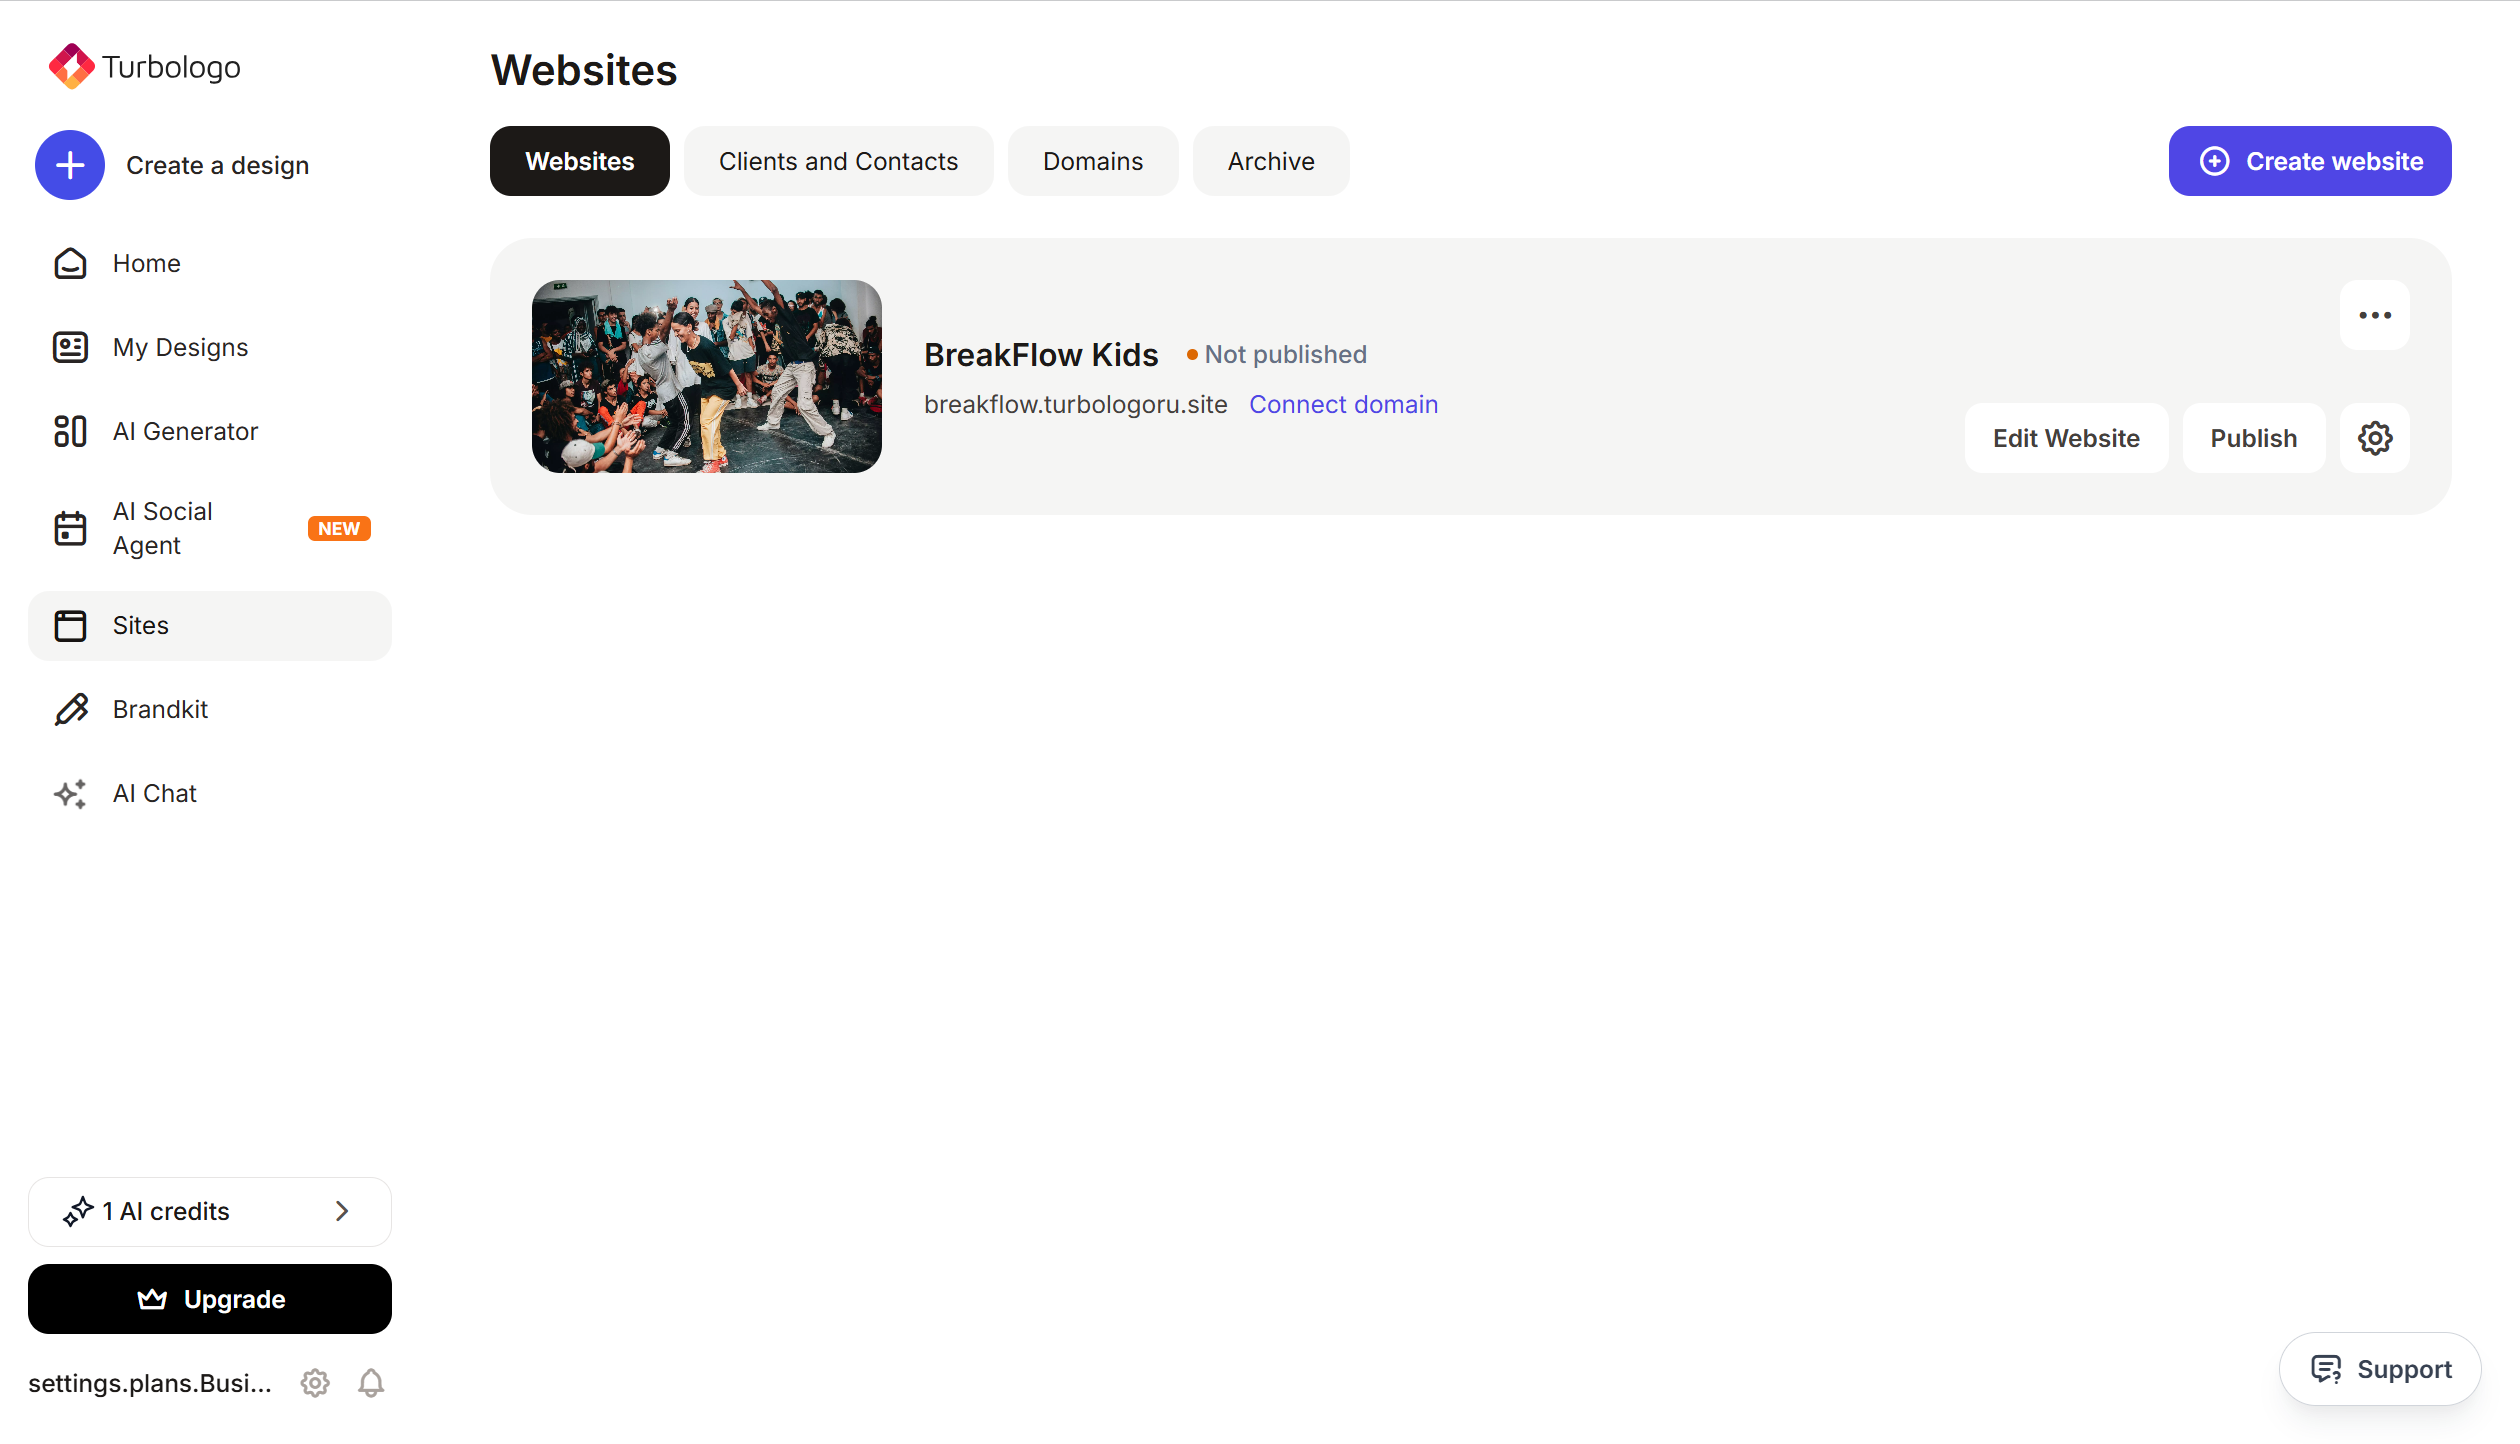
- A published website on Turbosite
- 5–10 minutes
Step 1. Create an online booking button in DIKIDI
- Log in to DIKIDI Business (web version or mobile app).
- Go to “Settings” → “Online booking” → “Website widget” (or “Your website”).
- Click “Create online booking button”.
- Select the widget type:
- Book an appointment — the client chooses the service or specialist themselves.
- Book with a specific specialist.
- Book a service.
- Customize the button’s appearance: color, text, position.
- Click “Generate code”.
- Copy the entire generated HTML code.
📷 Screenshot: configuring the online booking button in DIKIDI with preview and code.
⚠️ Check for updates: DIKIDI interface may change. If the menu items are different, look for “Widget”, “Booking button”, or “Code for website”.
Step 2. Insert the code into Turbosite
The DIKIDI button is usually floating (appears in the corner of the screen), and its code is installed globally.
-
Open your website in Turbosite.
-
Go to Site settings → Integrations → HTML code in
<head>(this is the service part of the page — visitors do not see it, but scripts are loaded from there when the site is opened).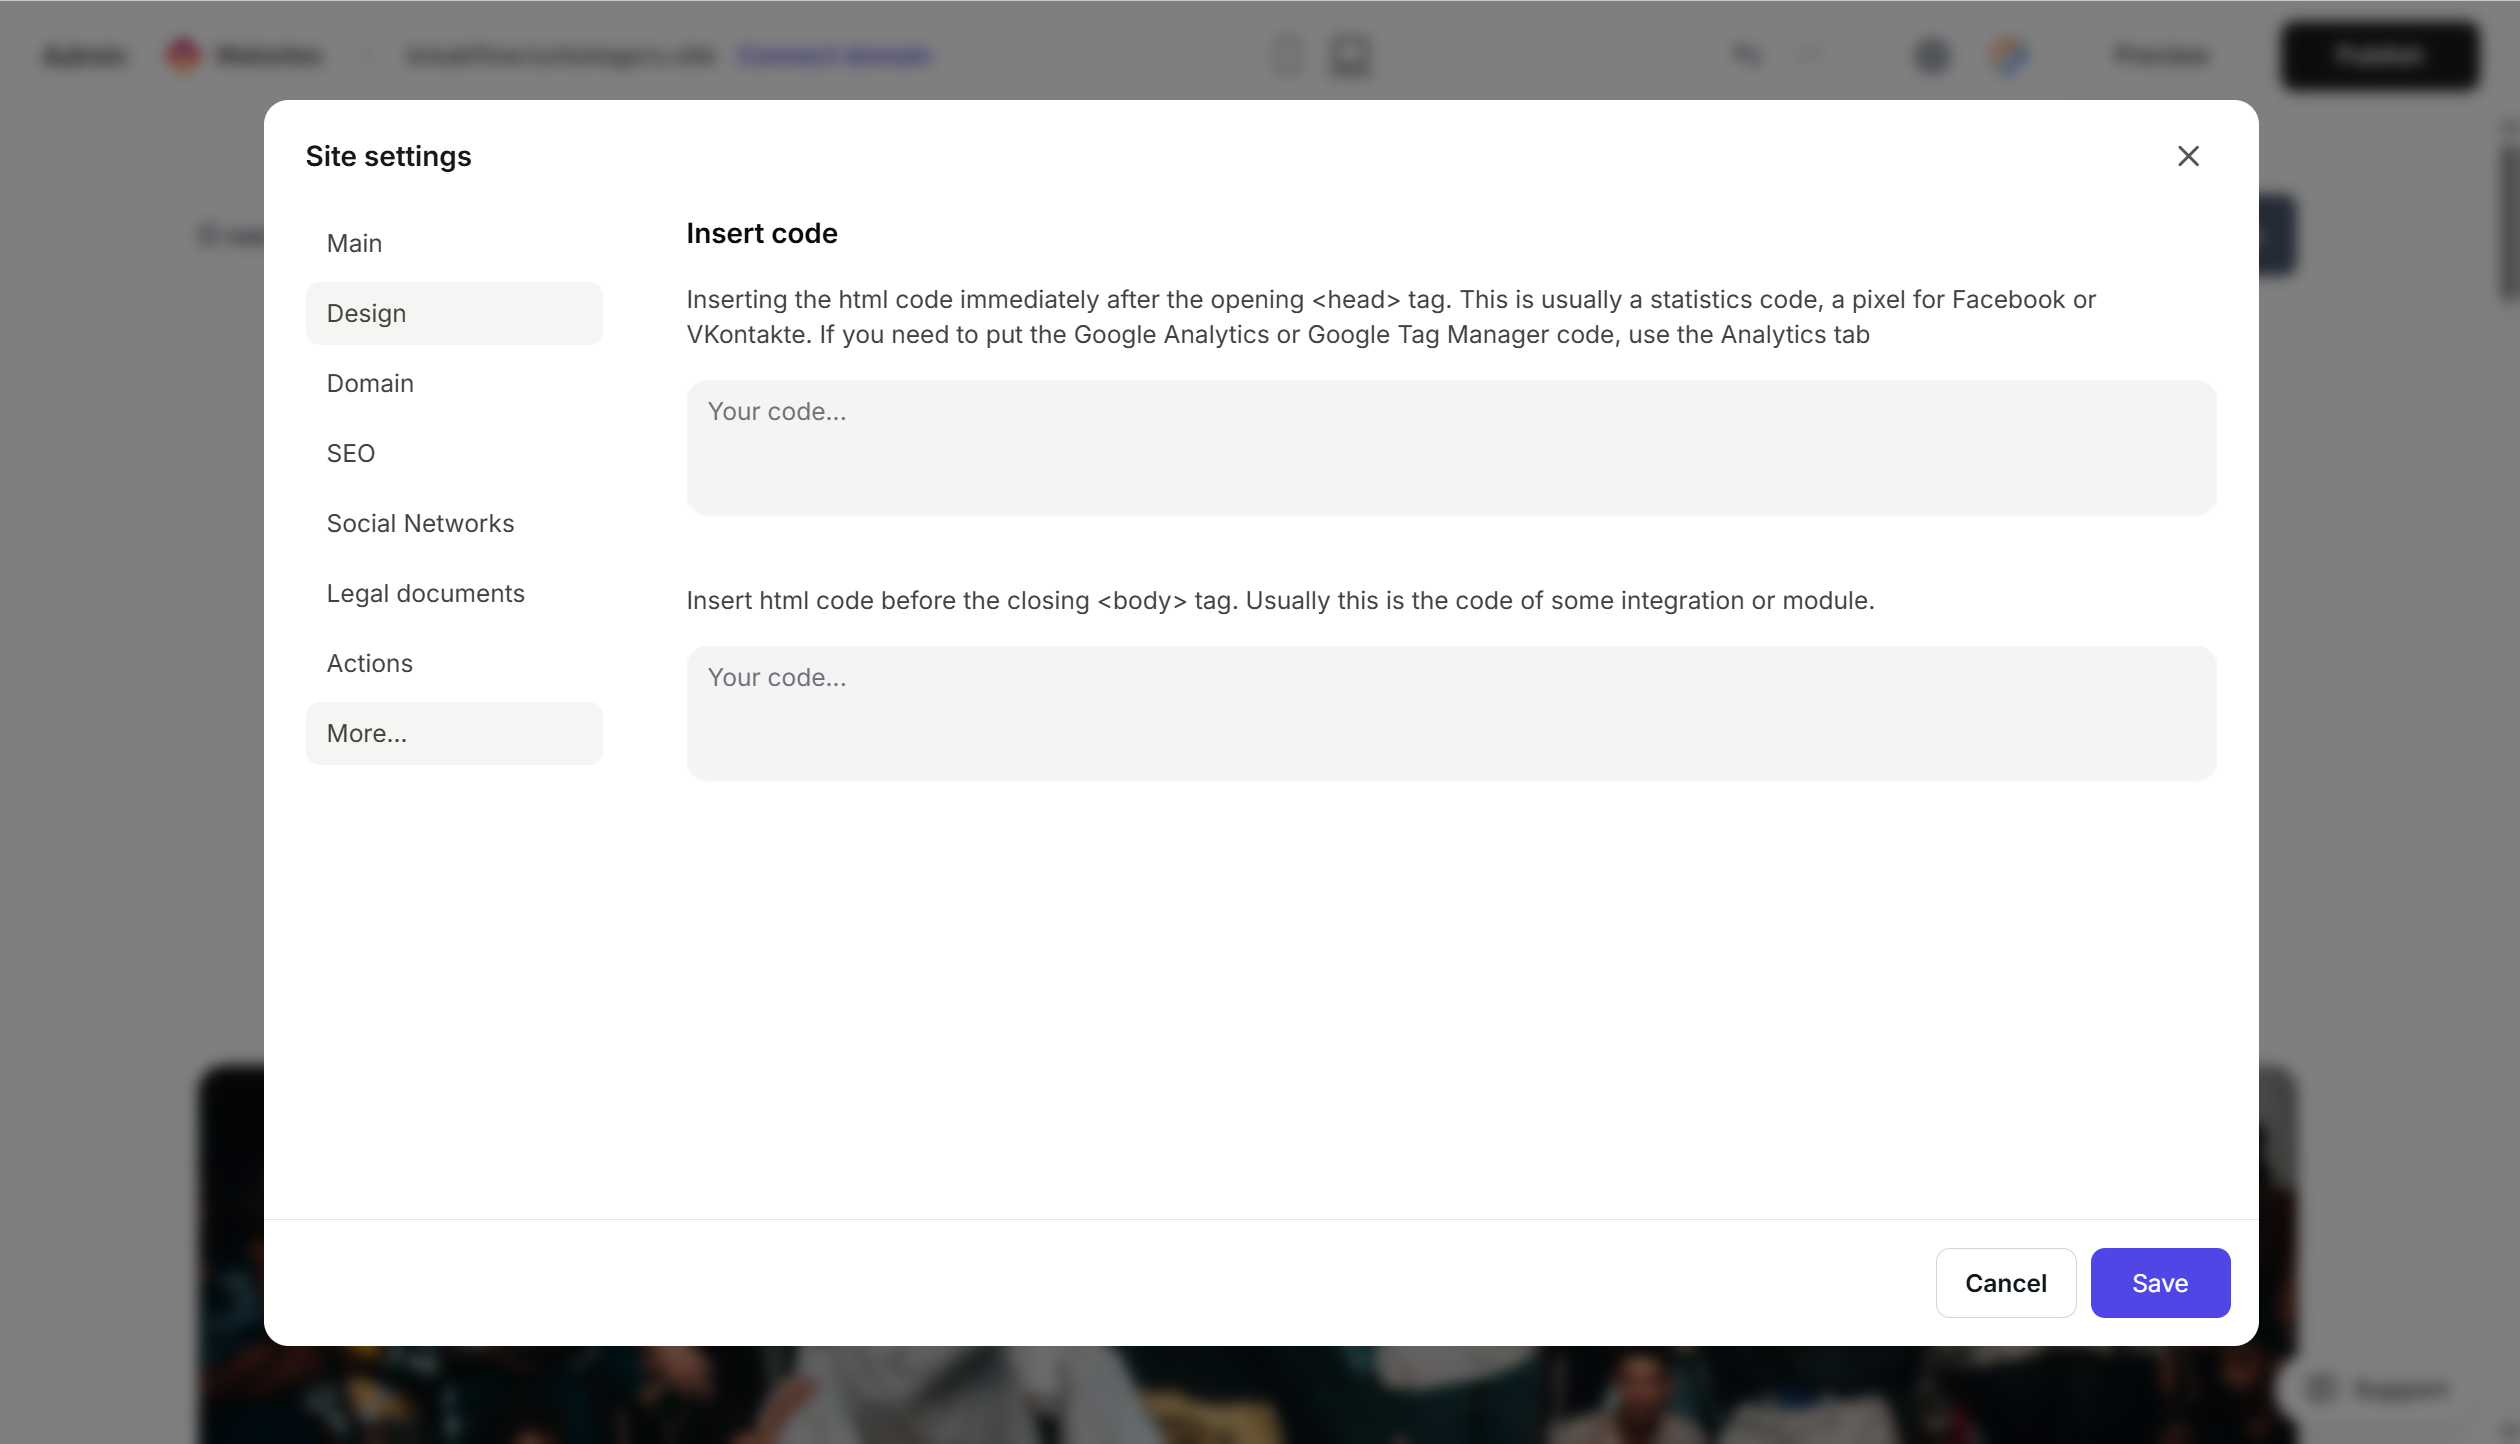
- Paste the DIKIDI code.
- Save the changes.
- Publish the site.
If you want the button in a specific place on the page, add an HTML block to the page body and paste the code there.
Step 3. Verify that online booking is working
- Open your published website.
- A “Book now” button should appear in the corner of the screen.
- Click it — the DIKIDI widget will open with the selection of service/specialist/time.
- Make a test booking.
- Open DIKIDI Business → “Booking log” — a new booking should appear.
FAQ
The widget does not appear on the site. Check that the code is complete, the site is published, and the widget is active in DIKIDI. Also, ensure that services, staff, and a schedule are configured in DIKIDI — the widget will not work without them.
Can I change the button design? Basic settings are available in DIKIDI (color, text, position). Deep customization is not available; the button design is fixed for each type.
Is DIKIDI really free? Yes, the main functionality is free: creating services, maintaining a booking log, and the website widget. Paid options include advanced analytics, newsletters, and payment gateway integrations. Compare plans on the pricing page.
Can I create multiple buttons for different tasks? Yes. In DIKIDI, create several widgets (e.g., “Book a haircut” and “Book a manicure”) — each will have its own code that can be inserted into different parts of the page.
How do I connect payments via the widget? DIKIDI supports payment processing via YooKassa and Tinkoff. It is connected in your DIKIDI personal account; nothing needs to be changed on the website side.
What to look at next
- DIKIDI Knowledge Base — official documentation
- Adding an online booking button — step-by-step guide
- Online booking methods — other methods (social media, Yandex Maps)