How to connect Envybox widgets to a Turbosite website
Envybox is a Russian widget service: callback, online chat, lead generator (pop-ups), multi-button with messengers, quizzes, and video widgets. The most popular one is “Callback”: a visitor leaves their number, and the service connects them with a manager in ~17 seconds. There is a trial period (8 days), followed by a paid subscription. Installation takes 5–10 minutes.
What you will need
- An Envybox account — register at envybox.io (8-day trial period)
- A published website on Turbosite
- 5–10 minutes
Step 1. Create a widget in Envybox
- Register at envybox.io and log in to your personal account.
- Add your website to the list (if it wasn’t added automatically).
- Select the widget type:
- Callback — a button to request a call.
- Online chat — a chat for communicating with clients.
- Lead generator — a pop-up with an offer.
- Multi-button — messengers in a single button.
- And others.
- Click “Add” for the desired widget.
- Configure the settings: texts, colors, behavior, and display schedule.
- Save the settings.
📷 Screenshot: Envybox personal account with widget type selection.
Step 2. Get the widget code
- In the settings of the created widget, go to the “Widget code” tab.
- Copy the entire generated HTML code.
📷 Screenshot: “Widget code” tab with the copy button.
⚠️ Check for updates: The Envybox interface is updated regularly. If the button layout is different, look for “Widget code”, “Installation”, or “Get code”.
Step 3. Insert the code into Turbosite
Envybox widgets usually appear globally (floating buttons, pop-ups), so the code is inserted into the <head> section.
-
Open your website in Turbosite.
-
Go to Site settings → Integrations → HTML code in
<head>(this is the service part of the page — visitors do not see it, but scripts from there are loaded when the site is opened).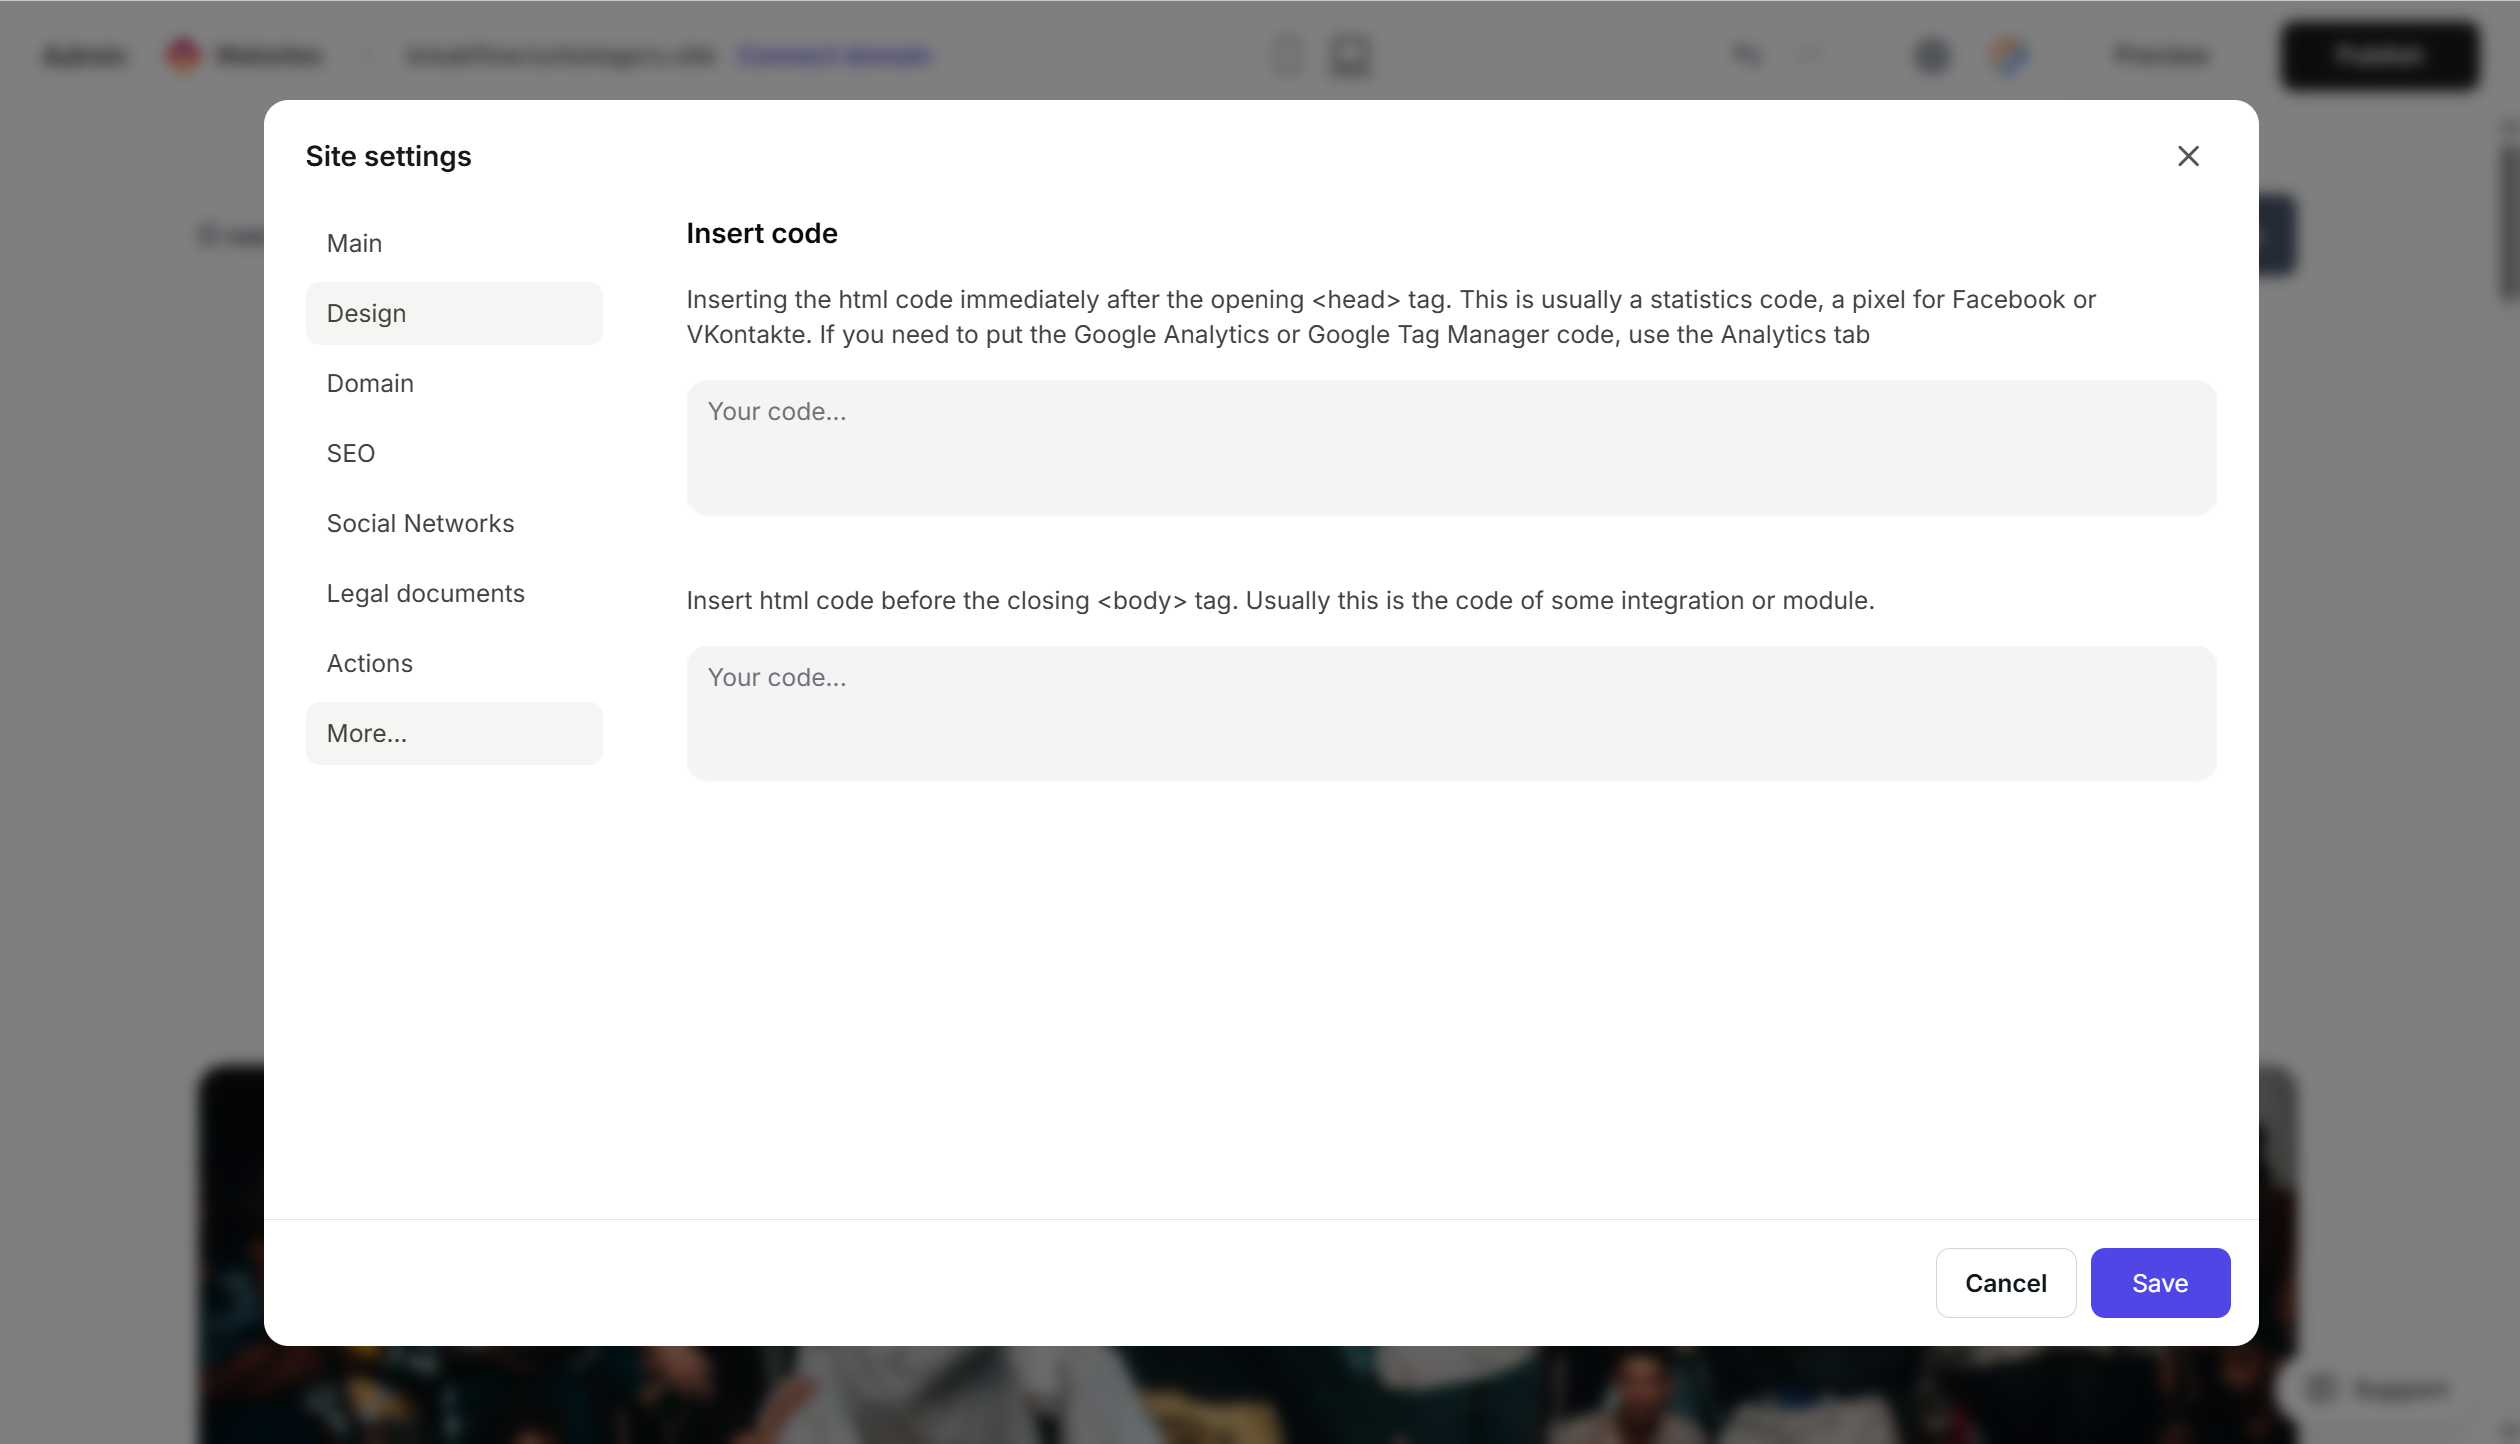
- Paste the Envybox code into the field.
- Save the changes.
- Publish the site.
Step 4. Verify that the widget is working
- Open the published website.
- After 2–5 seconds, the selected widget (button, chat, pop-up) should appear.
- Test the functionality: click the callback button, send a message in the chat.
- Check in Envybox that the request/event has been registered.
Frequently Asked Questions
The widget does not appear. Check that the code is complete, the site is published, and the widget is active in Envybox. Also, ensure that the widget is not configured to be shown only to a specific audience (by time, geo, or behavior).
Can I connect multiple widgets at once? Yes. In Envybox, all widgets are managed from a single account and work through one login. You usually do not need to insert multiple codes — most widgets work through a single script.
How much does it cost? There is an 8-day trial period, followed by a paid subscription for each widget separately. Prices are available on the Envybox website.
How do I change the manager who receives calls? In your Envybox personal account → “Callback” widget settings → “Managers” section. This can be changed without editing the code.
The widget is slowing down the site. The Envybox script loads asynchronously and usually does not affect speed. If there are problems, check the browser console for errors or contact Envybox support.
Where to look next
- Envybox website — widget descriptions
- Envybox Knowledge Base — official documentation
- Personal account — widget management