How to connect Cookiebot to a Turbosite website
Cookiebot is a European leader in cookie banners and data consent, compliant with GDPR, CCPA, and ePrivacy. It automatically scans your site, finds cookies and trackers, and generates a banner in 47 languages. It is a paid service (starting from €11/month), with a free plan available for sites with up to 50 pages. Installation takes 5–10 minutes.
What you will need
- A Cookiebot account — register at cookiebot.com (free for small sites)
- A published Turbosite website
- 5–10 minutes
Step 1. Register and add your site
- Register at cookiebot.com.
- In your dashboard, click “Add domain” and enter your website URL.
- Cookiebot will start an automatic scan (1–24 hours). This is necessary to compile a list of cookies used by your site.
- Configure the banner design: position, color, text, and languages.
📷 Screenshot: domain addition window and banner design settings.
Step 2. Get the banner code
- In your dashboard, go to Settings → Your scripts (or Implementation).
- Copy the main Cookiebot script — it starts with:
<script id="Cookiebot" src="https://consent.cookiebot.com/uc.js" data-cbid="YOUR-ID" type="text/javascript" async></script> - Optionally, copy the Cookie Declaration — this is a table of all cookies, usually added to the privacy policy page.
📷 Screenshot: Implementation page with ready-to-use scripts.
⚠️ Check for updates: the Cookiebot interface is updated regularly. If sections are named differently, look for “Implementation”, “Scripts”, or “Get code”.
Step 3. Insert the code into Turbosite
The Cookiebot script must load before all other scripts on the site (Google Analytics, Meta Pixel, chats, etc.) — it controls which of them will be launched based on user consent.
-
Open your site in Turbosite.
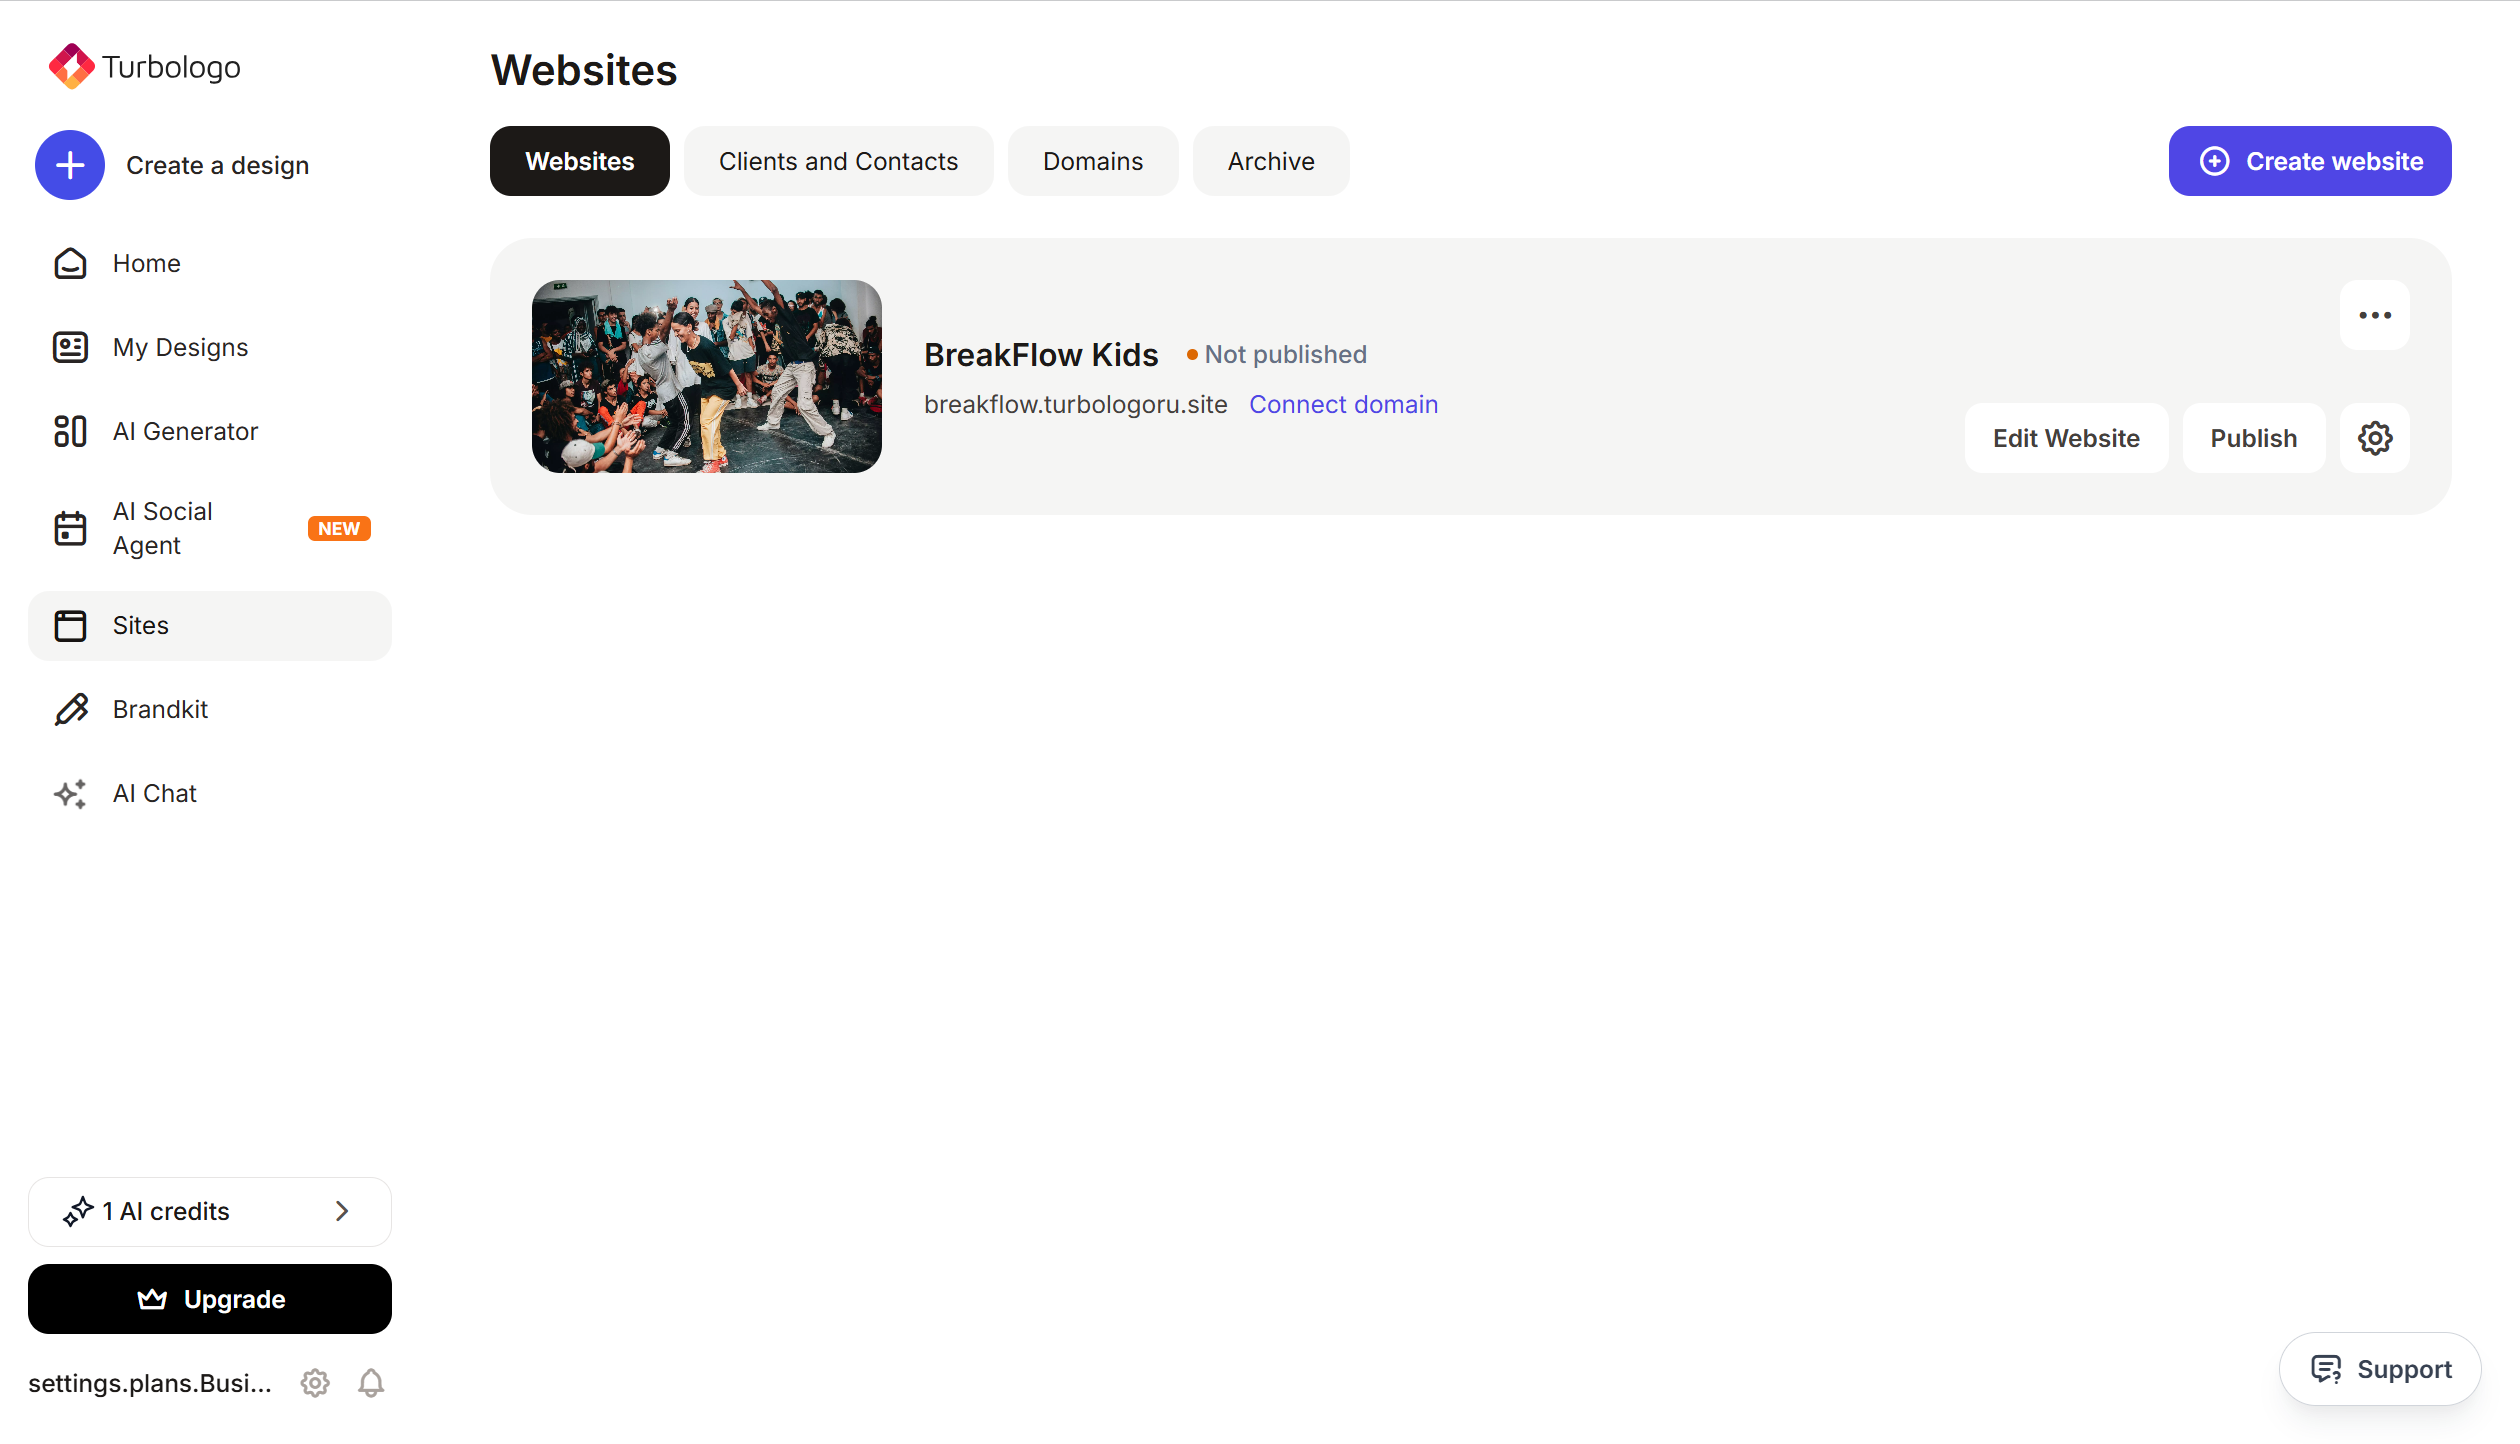
-
Go to Site settings → Integrations → HTML code in
<head>(this is the service part of the page — visitors do not see it, but scripts from there are loaded when the site is opened).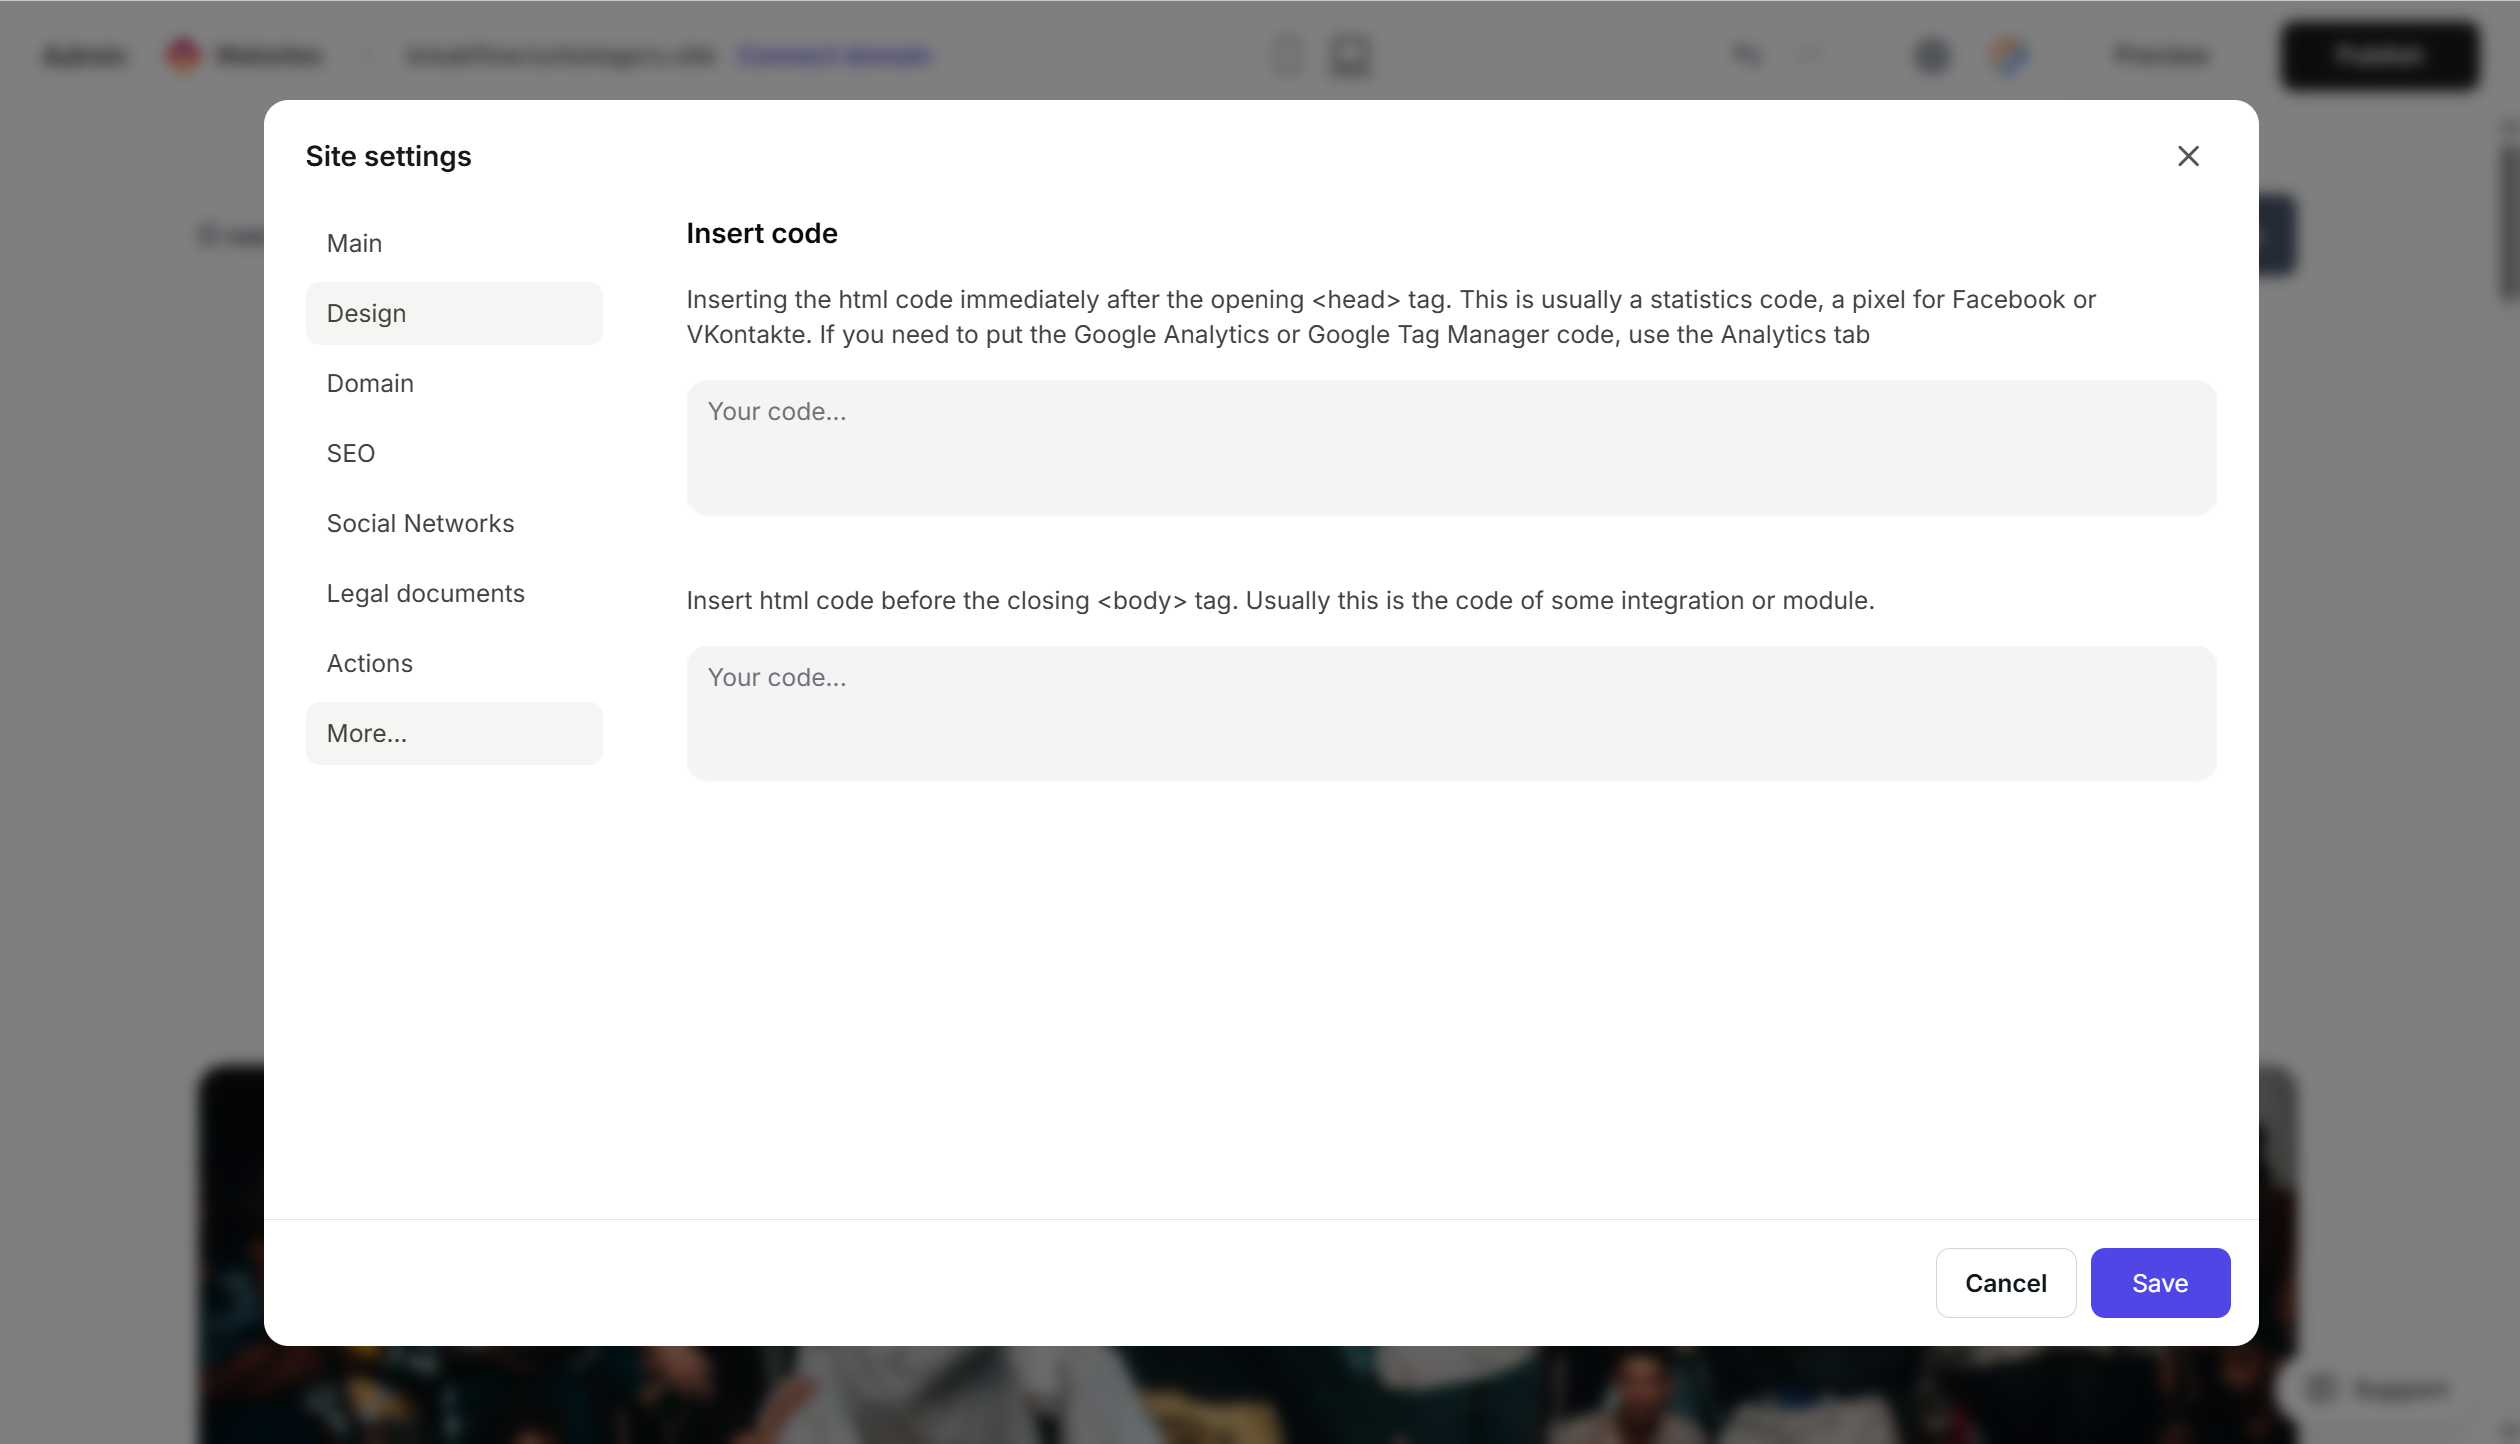
- Paste the Cookiebot script at the very beginning of the HTML code in
<head>field, before all other scripts. - Save and publish.
Step 4. Verify that the banner works
- Open your published site in incognito mode (important — in normal mode, the banner might have already been hidden after your first consent).
- The cookie consent banner should appear at the bottom or side of the screen.
- Click “Accept”, “Decline”, or “Settings” — verify that the banner reacts.
- In Cookiebot → Statistics, data on visitor consent will appear after a few hours.
FAQ
Do I need Cookiebot if I don’t have a European audience? If your site can be accessed from the EU — yes, according to GDPR requirements, a consent banner is mandatory. Cookiebot also helps with CCPA (California) and LGPD (Brazil).
How much does it cost? Free — for sites with up to 50 pages/100 unique visitors per month. Premium — from €11/month. Pricing.
Does Cookiebot work with Google Analytics and other trackers? Yes. Cookiebot automatically detects popular services (GA4, Meta Pixel, Hotjar, etc.) and blocks them until user consent is obtained — this is the Consent Mode.
The site is not identified correctly — the banner shows the wrong cookies. Run a re-scan of the site in Cookiebot → Scan. It is recommended to re-scan after any changes to the site.
Can I style the banner to match my brand? Yes, in Settings → Cookie banner → Customize. Full customization (CSS) is available on paid plans.
Where to look next
- Help Center Cookiebot — official documentation
- GDPR compliance with Cookiebot — about legal compliance
- Pricing — current prices