How to connect CloudPayments to a Turbosite website
CloudPayments is a Russian internet acquiring service. It is suitable for accepting payments via cards, SBP, SberPay, T-Pay, and installments. Its main feature is recurring payments (subscriptions). Connection for businesses is free, with a commission starting from 2.5% per successful payment. Setup takes 10–20 minutes after the contract is signed.
What you will need
- A CloudPayments account and a signed contract — apply on the website cloudpayments.ru
- A published website on Turbosite
- 10–20 minutes
⚠️ Important: to connect, you need to be a sole proprietor (IP), a limited liability company (OOO), or self-employed. Registration and signing the contract take 1–3 days.
Step 1. Connect to CloudPayments
- Submit an application on cloudpayments.ru — a manager will contact you.
- Sign the contract and get access to your personal account.
- In your personal account, find your Public ID — this is a public key; the widget will not work without it. It is stored in the “Sites” section → select a site.
Step 2. Get the widget code
CloudPayments works via a widget: a small script is inserted into the site, and when the payment button is clicked, a pop-up window with a card entry form opens.
The easiest way is to use the ready-made code:
<script src="https://widget.cloudpayments.ru/bundles/cloudpayments.js"></script>
<button onclick="pay()">Pay</button>
<script>
function pay() {
    var widget = new cp.CloudPayments();
    widget.pay('charge',
        {
            publicId: 'YOUR_PUBLIC_ID',
            description: 'Product payment',
            amount: 1000,
            currency: 'RUB',
            invoiceId: 'ORDER_001',
            accountId: '[email protected]'
        },
        {
            onSuccess: function (options) { alert('Payment successful!'); },
            onFail: function (reason, options) { alert('Error: ' + reason); }
        }
    );
}
</script>
Replace YOUR_PUBLIC_ID with your key from your personal account, amount with the required amount, and description with the product name.
📷 Screenshot: CloudPayments personal account → “Sites” section → Public ID field.
⚠️ Check for updates: exact section names and the location of the Public ID may vary. If you cannot find it, contact CloudPayments support.
Step 3. Insert the code into Turbosite
The widget works in two stages: the script is connected globally, and the payment button is placed in the required part of the page.
Widget script:
-
Open your site in Turbosite.
-
Go to Site Settings → Integrations → HTML code in
<head>(this is the service part of the page — visitors do not see it, but scripts from there are loaded when the site is opened).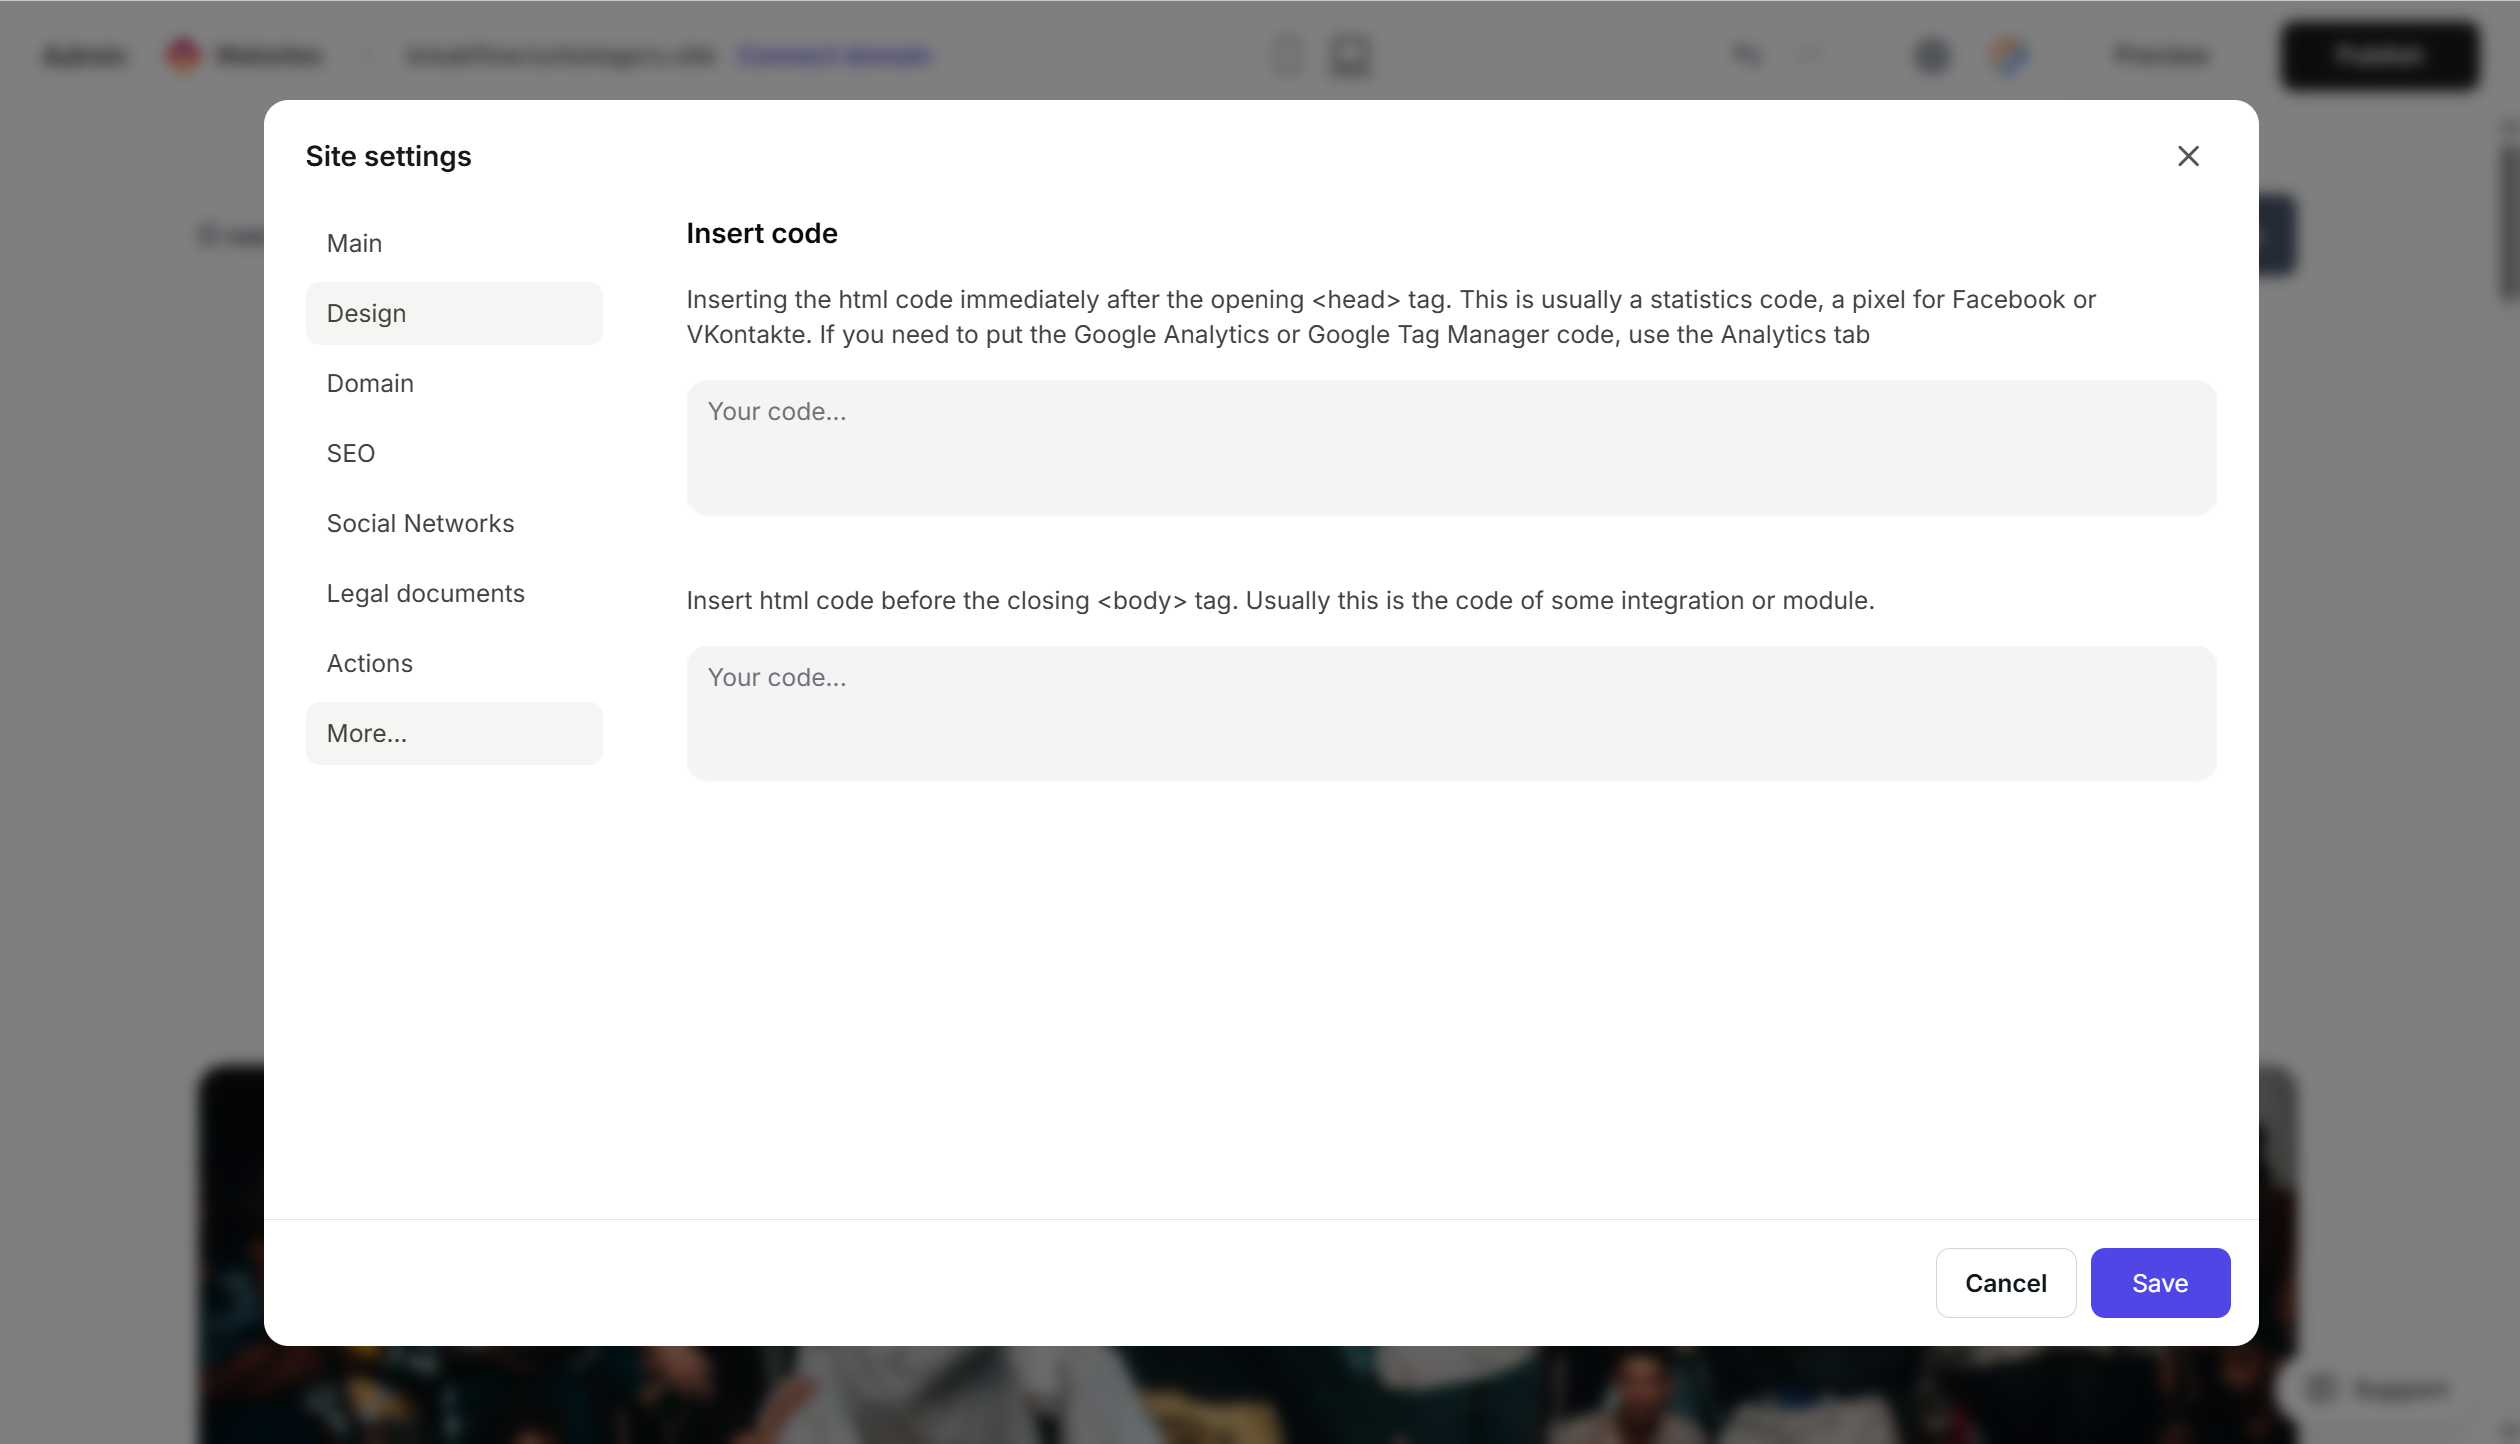
-
Insert only this line:
<script src="https://widget.cloudpayments.ru/bundles/cloudpayments.js"></script>
Add the payment button as a separate HTML block in the body of the page — in the place where it should appear.
Step 4. Verify that payment is working
- Open the published site.
- Click the “Pay” button — the CloudPayments pop-up window should open.
- For testing, use the test Public ID (provided in your personal account) and test cards from the documentation.
- Live check — perform a minimum payment with a real card.
FAQ
How to set up a subscription (recurring payments)?
In the widget code, add the data parameter specifying the frequency. Details are in the CloudPayments documentation.
How to send receipts to customers (54-FZ)? In your CloudPayments personal account, connect the fiscalization module (online cash register). Receipts will be sent automatically.
What payment methods are available? Mir, Visa, Mastercard cards, SBP, SberPay, T-Pay, Apple/Google Pay (for compatible devices), and installments from partner banks.
When will the money arrive in the account? By default — on the next business day. Faster terms can be set up; discuss this with your manager.
Where to look next
- CloudPayments documentation — full technical documentation
- Widget description — parameters and settings
- Personal account — payment management